This is Part 2 of our “How to Start Climbing” series. If you haven’t yet, check out Part 1: Get Started at a Climbing Gym.
So you’ve been bitten by the climbing bug (no, not a radioactive spider). To kick off your journey to true Rock Climber Stardom, you found a rock climbing gym in your area that looks friendly to beginners, like we recommended in Part 1, grabbed a buddy, and planned a day to visit. You might even have signed up for a class, like Learning the Ropes or Learning to Boulder here at First Ascent Chicago.
But what can you expect once you get there? What should you bring? How will you pick routes (or were they called “problems?”). What do all the numbers mean? We’re here for you: we all had our first days climbing once. Here’s what your first visit to the gym will probably include:
1. Renting gear
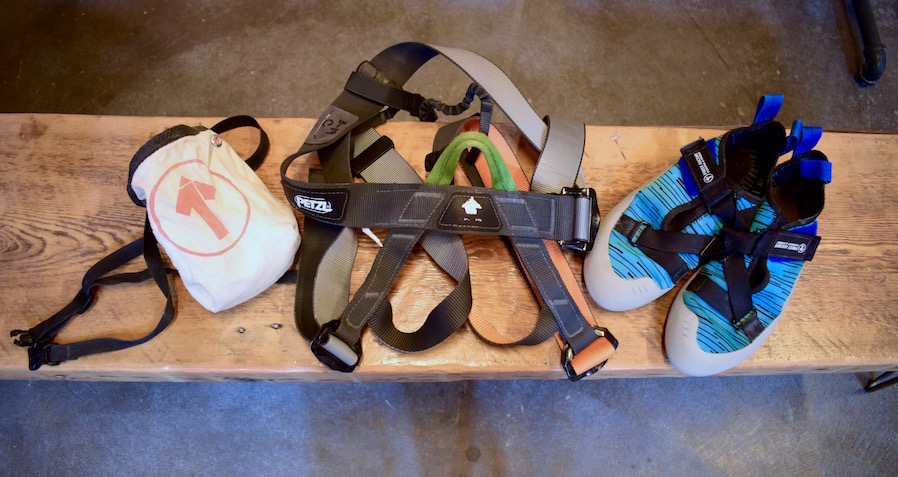
When you’re checking in, be sure to mention that you need to rent gear (unless of course you have your own). Climbing in the gym calls for three essential pieces of gear: climbing shoes, a harness, and a chalk bag. At First Ascent, we rent these pieces a la carte or in a package for $10 per visit. Not bad, considering all together these items would cost $150 or more to buy. We’ll talk more about how to start acquiring your own gear in a later installation of this series, but for now, here’s the rundown on renting gear:
- Climbing shoes are tight-fitting shoes secured with laces or velcro, attached to sticky rubber on the soles that forces the foot into a slightly downturned position. They should fit tightly, but not painfully—climbing feels much easier when you can put force into the footholds without feeling pain! Gym staff will happily help you find the right size, so don’t be afraid to ask for help here. Also, normally you don’t wear socks with your own climbing shoes so you can get the best fit possible, but we recommend wearing socks with rental shoes.
- A harness is an essential piece of gear if you’re planning to enjoy roped climbing—it’s what you’ll use to attach yourself to the rope or autobelay. If you’re just bouldering, you can skip the harness rental, since bouldering pads are your fall protection in the bouldering area.
- Chalk may seem unnecessary, but it’s an essential tool for climbing at your best. Before and during your climbs, if you’re putting a lot of effort into the climb (which you should!), your palms will sweat and you’ll lose some grip on the holds. Chalk absorbs that moisture and dries the skin, making it easy to pull up those new climbs and focus on fun, not on keeping your hands dry!
2. Going on an Orientation
Most gyms will require first time visitors to undergo an orientation before you start climbing. During the orientation, you’ll hear about facility rules and guidelines, climbing risks, and other basic information new climbers should know.
Take advantage of this opportunity to ask any questions you have about where things are located, what areas are best for newer climbers to try, and any tips and tricks staff have for climbers that are just getting started.
2. Learning the grading systems
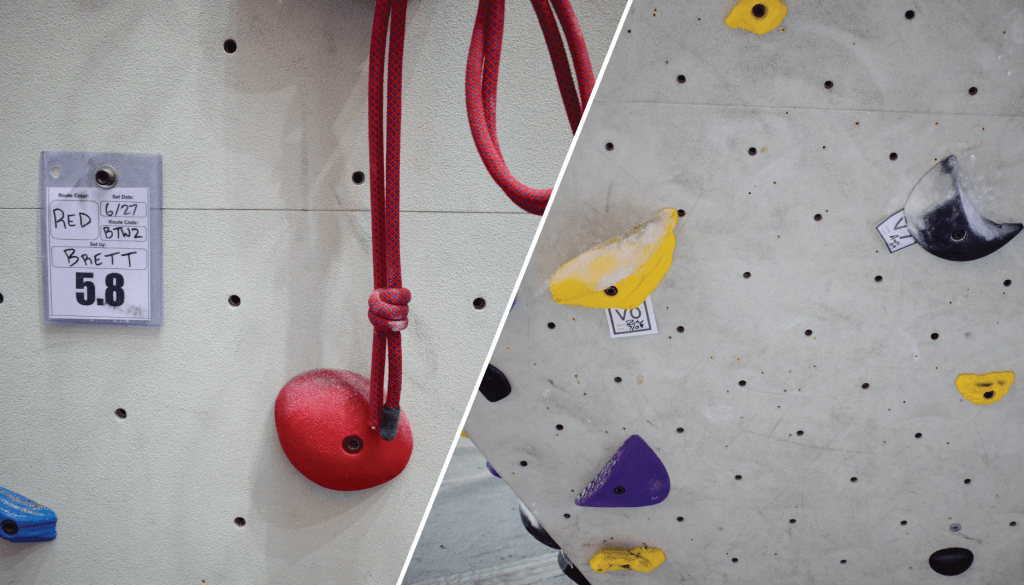
Once you rent your gear and walk over to the routes or problems to give one your first attempt, you’ll notice a bunch of numbers and tape next to the bottom of each route or problem. This info reflects the grade, or difficulty, of the climb. Most gyms (FA included) two different systems for grades: bouldering grades, or V-scale, and sport (roped) climbing grades, or the Yosemite Decimal System. Without getting too deep into the history of these scales, here’s what you need to know for your first days at the gym:
- Boulder problems range from V0 or VB (for “beginners”), the easiest, to V16, which is elite, futuristic climbing, which as a new climber you won’t (yet!) approach.
- For roped climbing, you’ll see grades like “5.7” and “5.10a.” This is the Yosemite Decimal System, the method by which the difficulty of roped climbing in the United States is measured. For our purposes, ignore the “5” in every grade; the lower the number after the decimal point, the easier the climb. Start low and have fun!
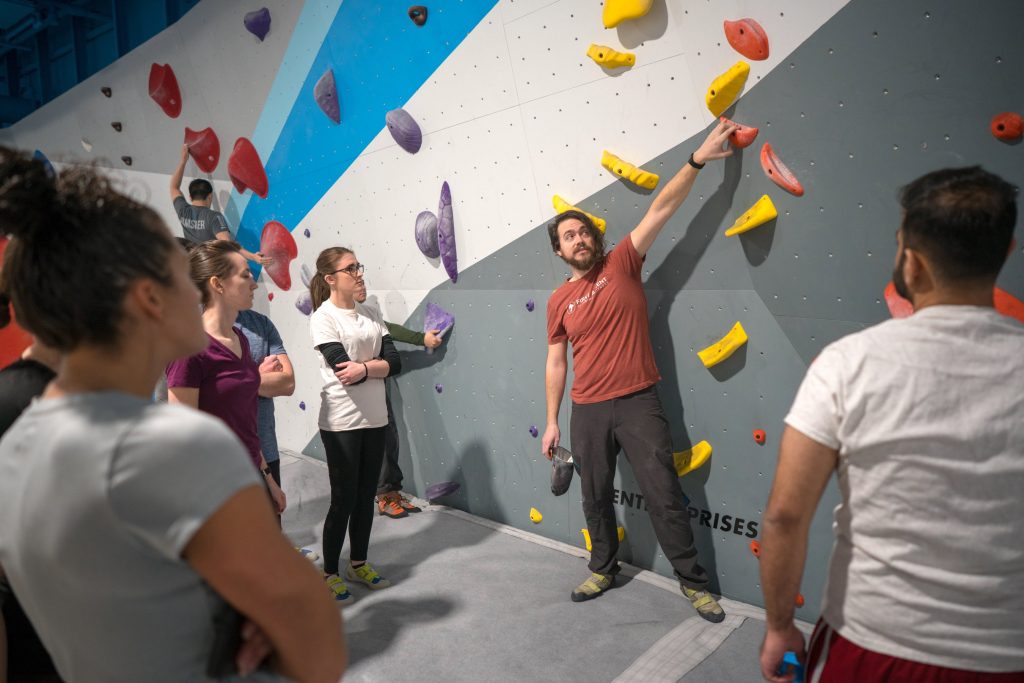
3. Practicing basic technique
Finally, onto the climbing itself. Newer climbers tend to focus heavily on their upper body exertion, which is a wasteful way to climb from an energy point of view. Keep in mind a few tips to make climbing feel more natural and powerful right from the start. You’ll notice much of these relate to energy conservation and endurance, two huge components of climbing fitness and technique:
- Your feet should carry you up the wall. Your hands mostly keep you on the wall. As much as possible, use your legs to carry your body weight, something they’re used to doing already—pulling with your arms is a sure way to tucker yourself out.
- Focus on your core—by firming up your core muscles, and bringing your hips into the wall, you make it easier to hold on, stand on small footholds, and propel yourself vertically. You’ll save tons of energy following this tip.
- Use the lightest grip possible to stay on. This helps conserve energy so you can hold on better when it gets sketchy or difficult.
- Breathe. This goes without saying—it’s very common for people to find themselves not breathing through difficult sections of a climb. Getting oxygen into your blood helps your muscles get through the “crux” (the most difficult part) of a climb.
Let us know how your first time climbing with us is—talk to any FA staffer, or find us on Instagram or Facebook. See you in the gym!